How To Harvest, Cure + Store Kumara

Kumara loves the warmth - all the way through the growing process, from the shoots through planting to storage. Steer clear of cold, and keep warm in the forefront of your mind and you wont go wrong.
Those of you on light, free draining soil are on a win - your soil holds warmth for longer, giving you more lee way when it comes to harvest. Not so for those of us on clay, especially when combined with rapidly cooling soil temperatures. When left in heavy cold soils, kumara develop blemishes in storage that rot. If heavy soils and cooling temps are your lot, be on guard and ready to harvest.
Either way, at the very latest be sure to get your crop up before frosts, as frost will turn them mushy.
Three things come together to let you know kumara harvest is nigh.
- Time. Kumara are ready 120 - 150 days after planting.
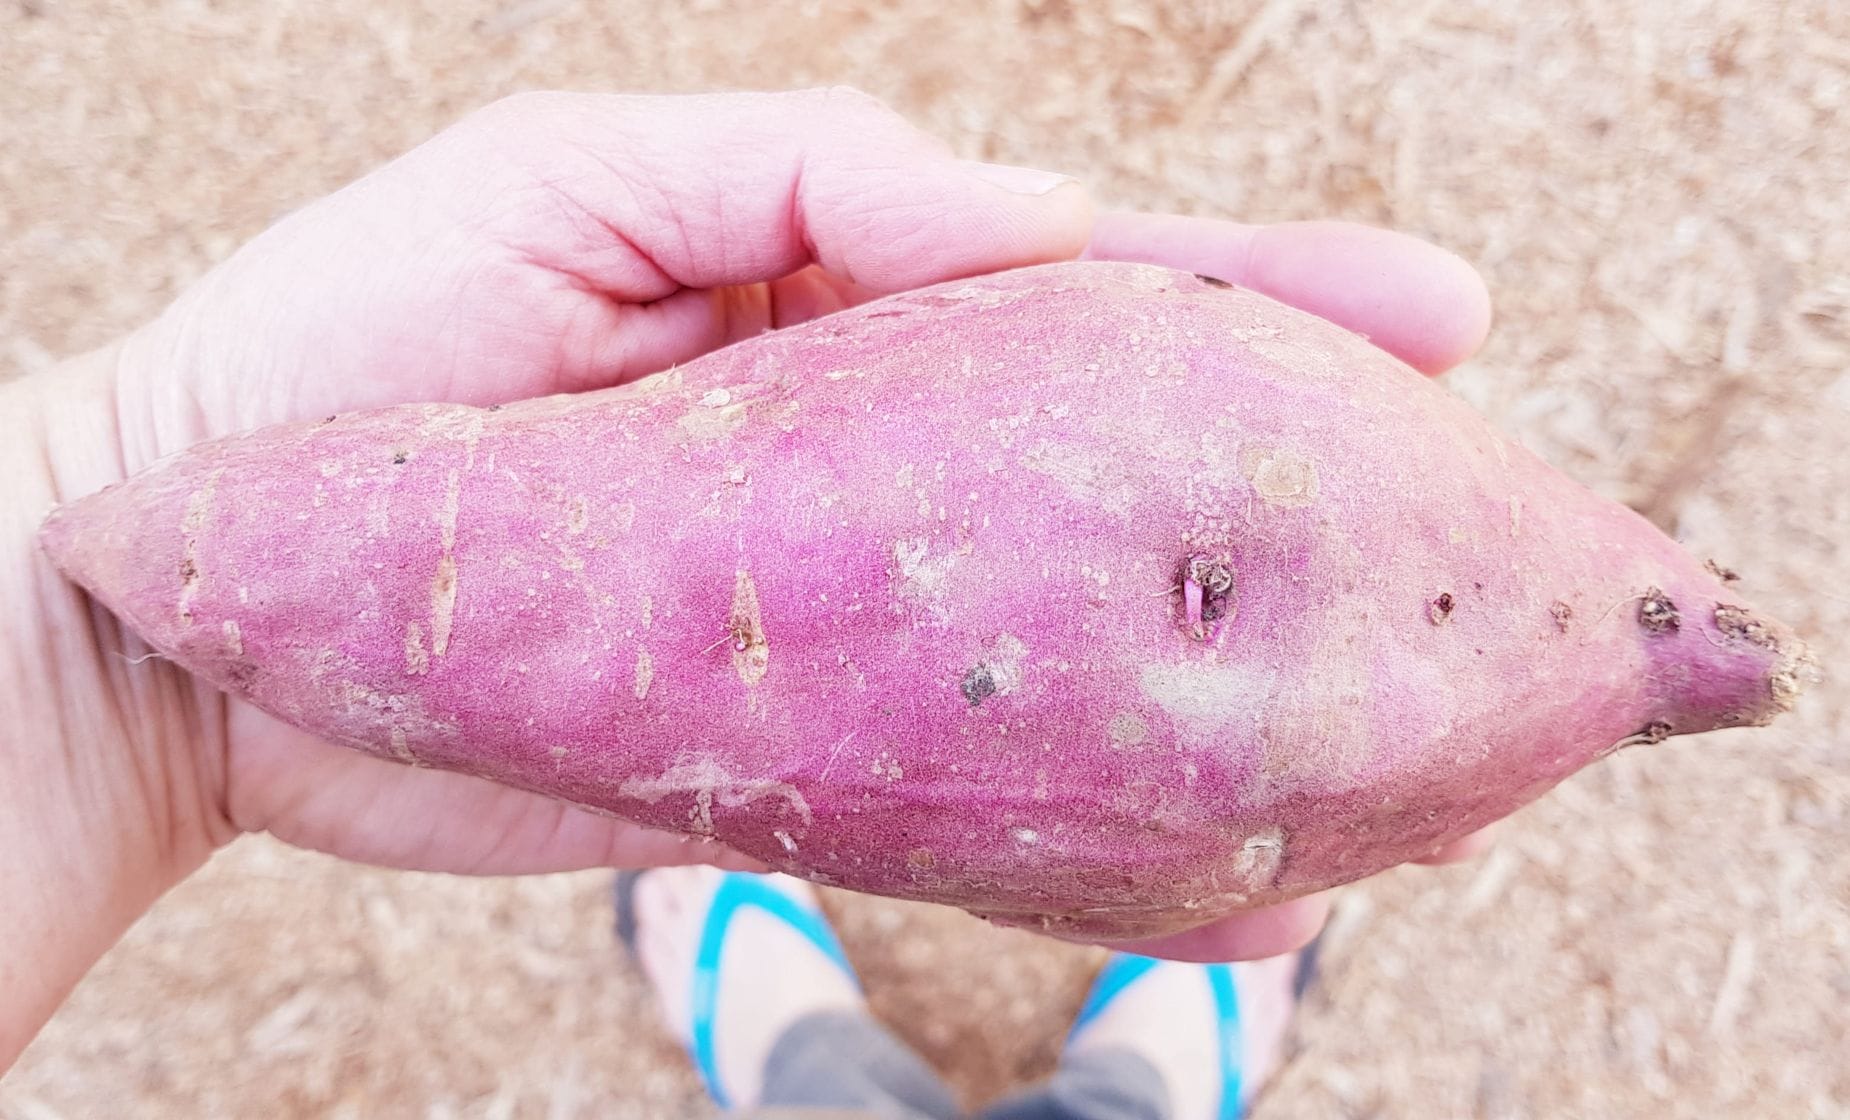
- Tuber size. Scrounge around in the soil and feel them.
- Climate. Before the first frost, before soils dive below 13°C and dry, sunny weather for harvest.
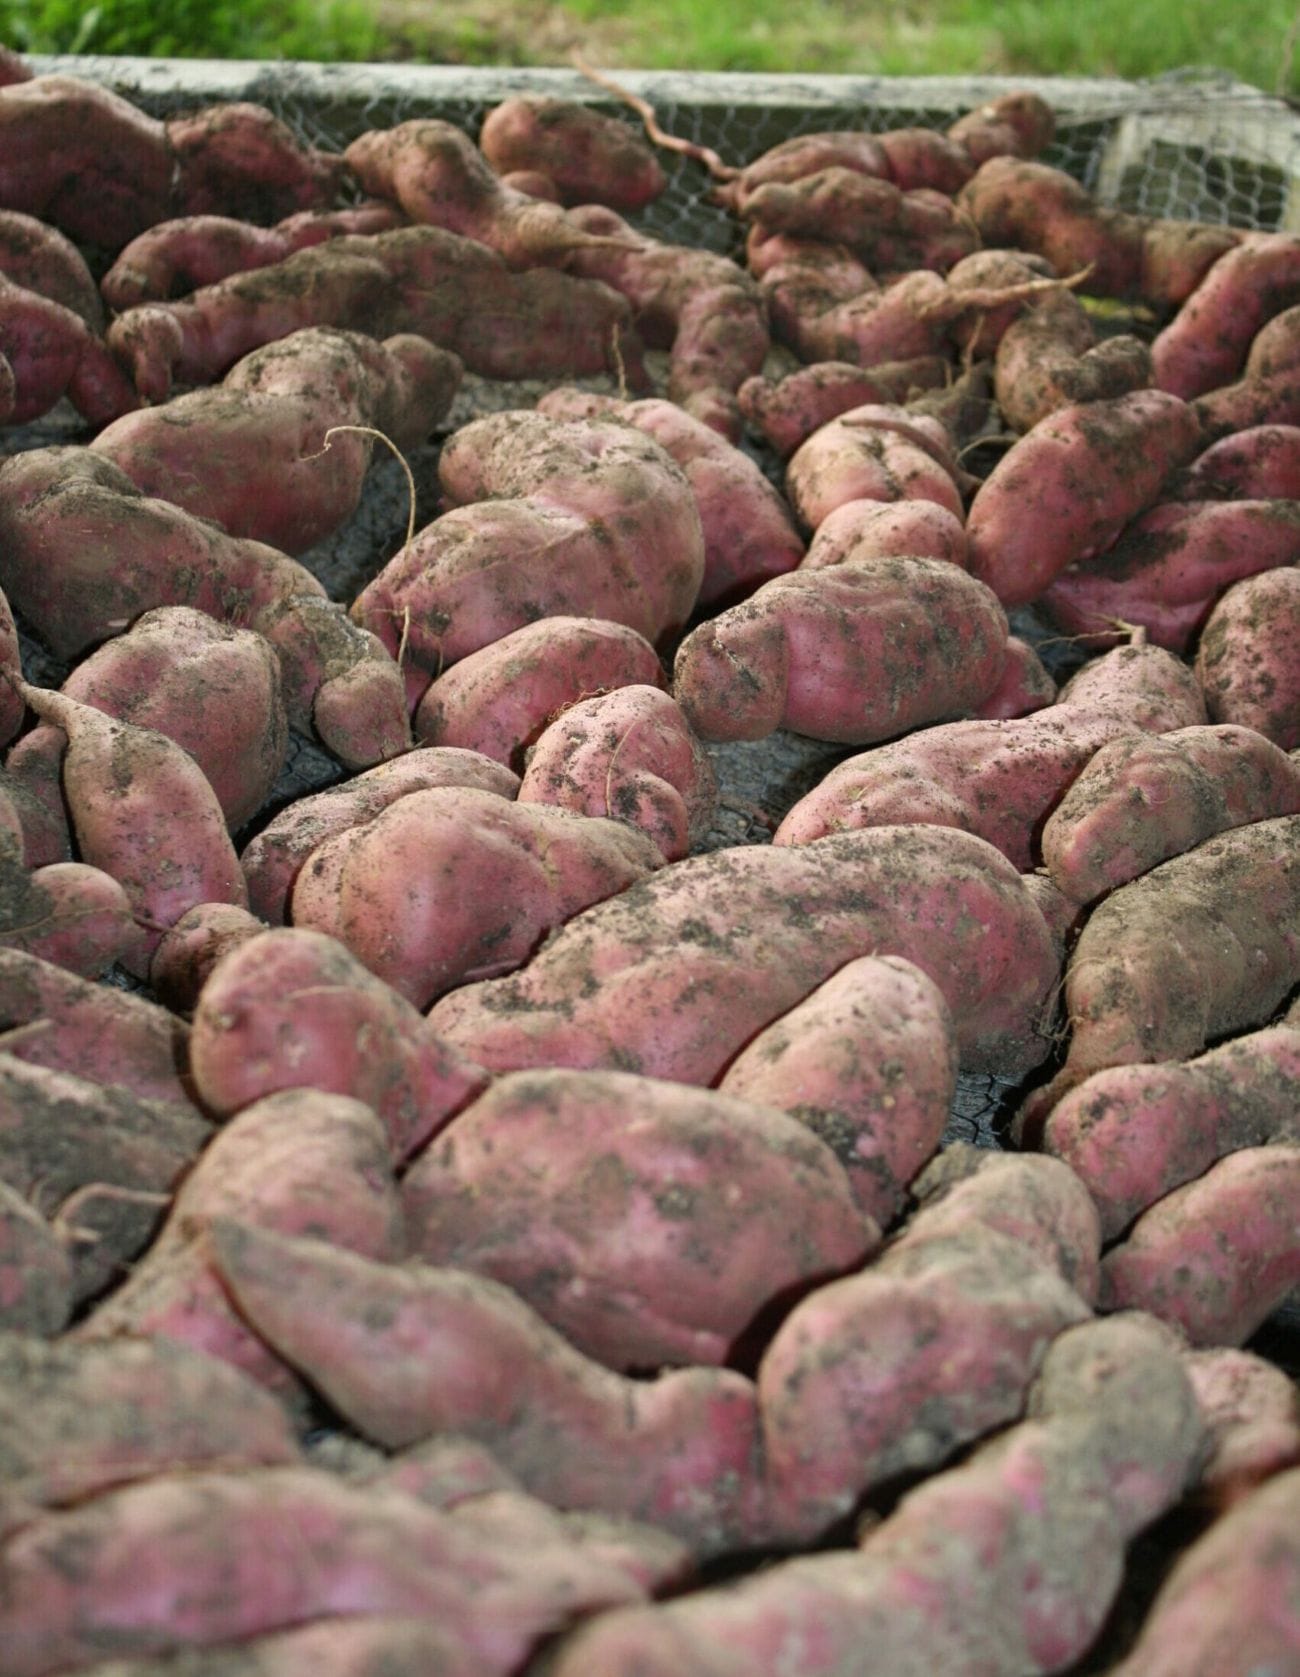
Harvest
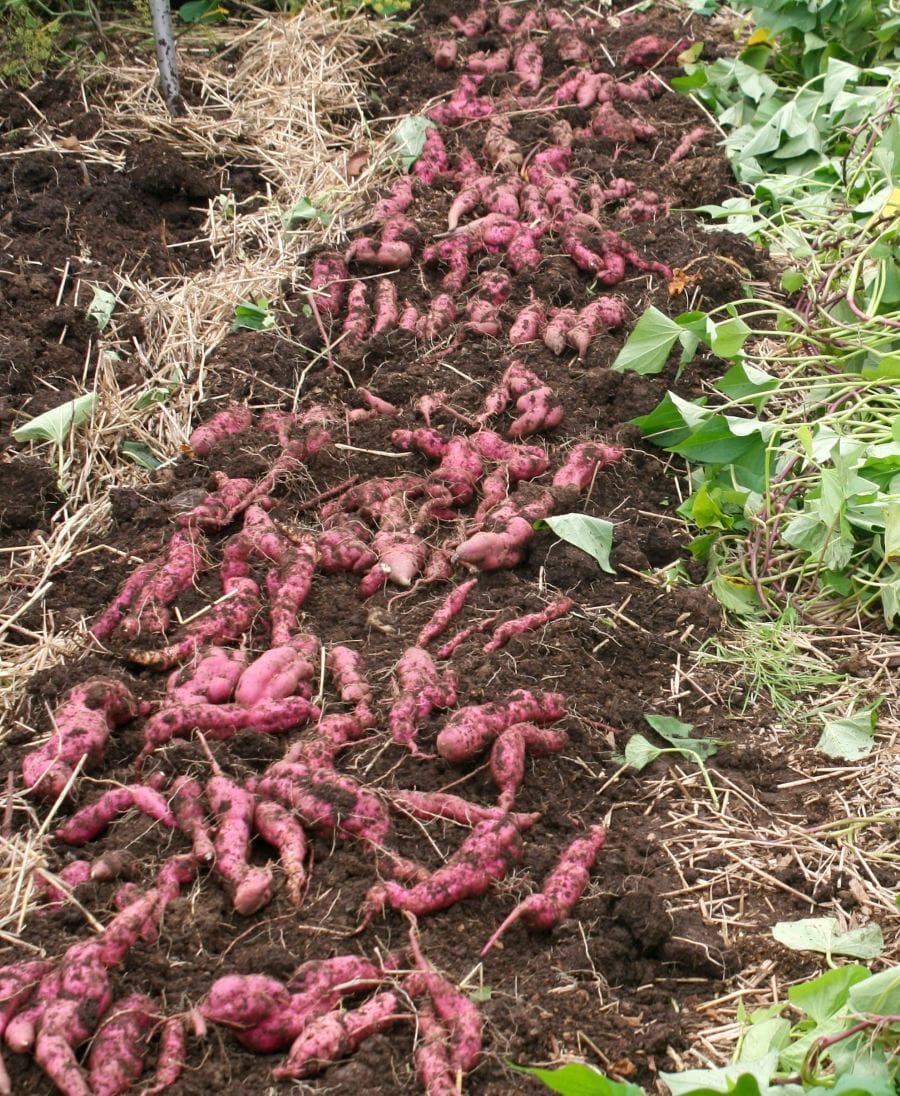
Choose a lovely sunny day, preferably having had a few dry days prior.
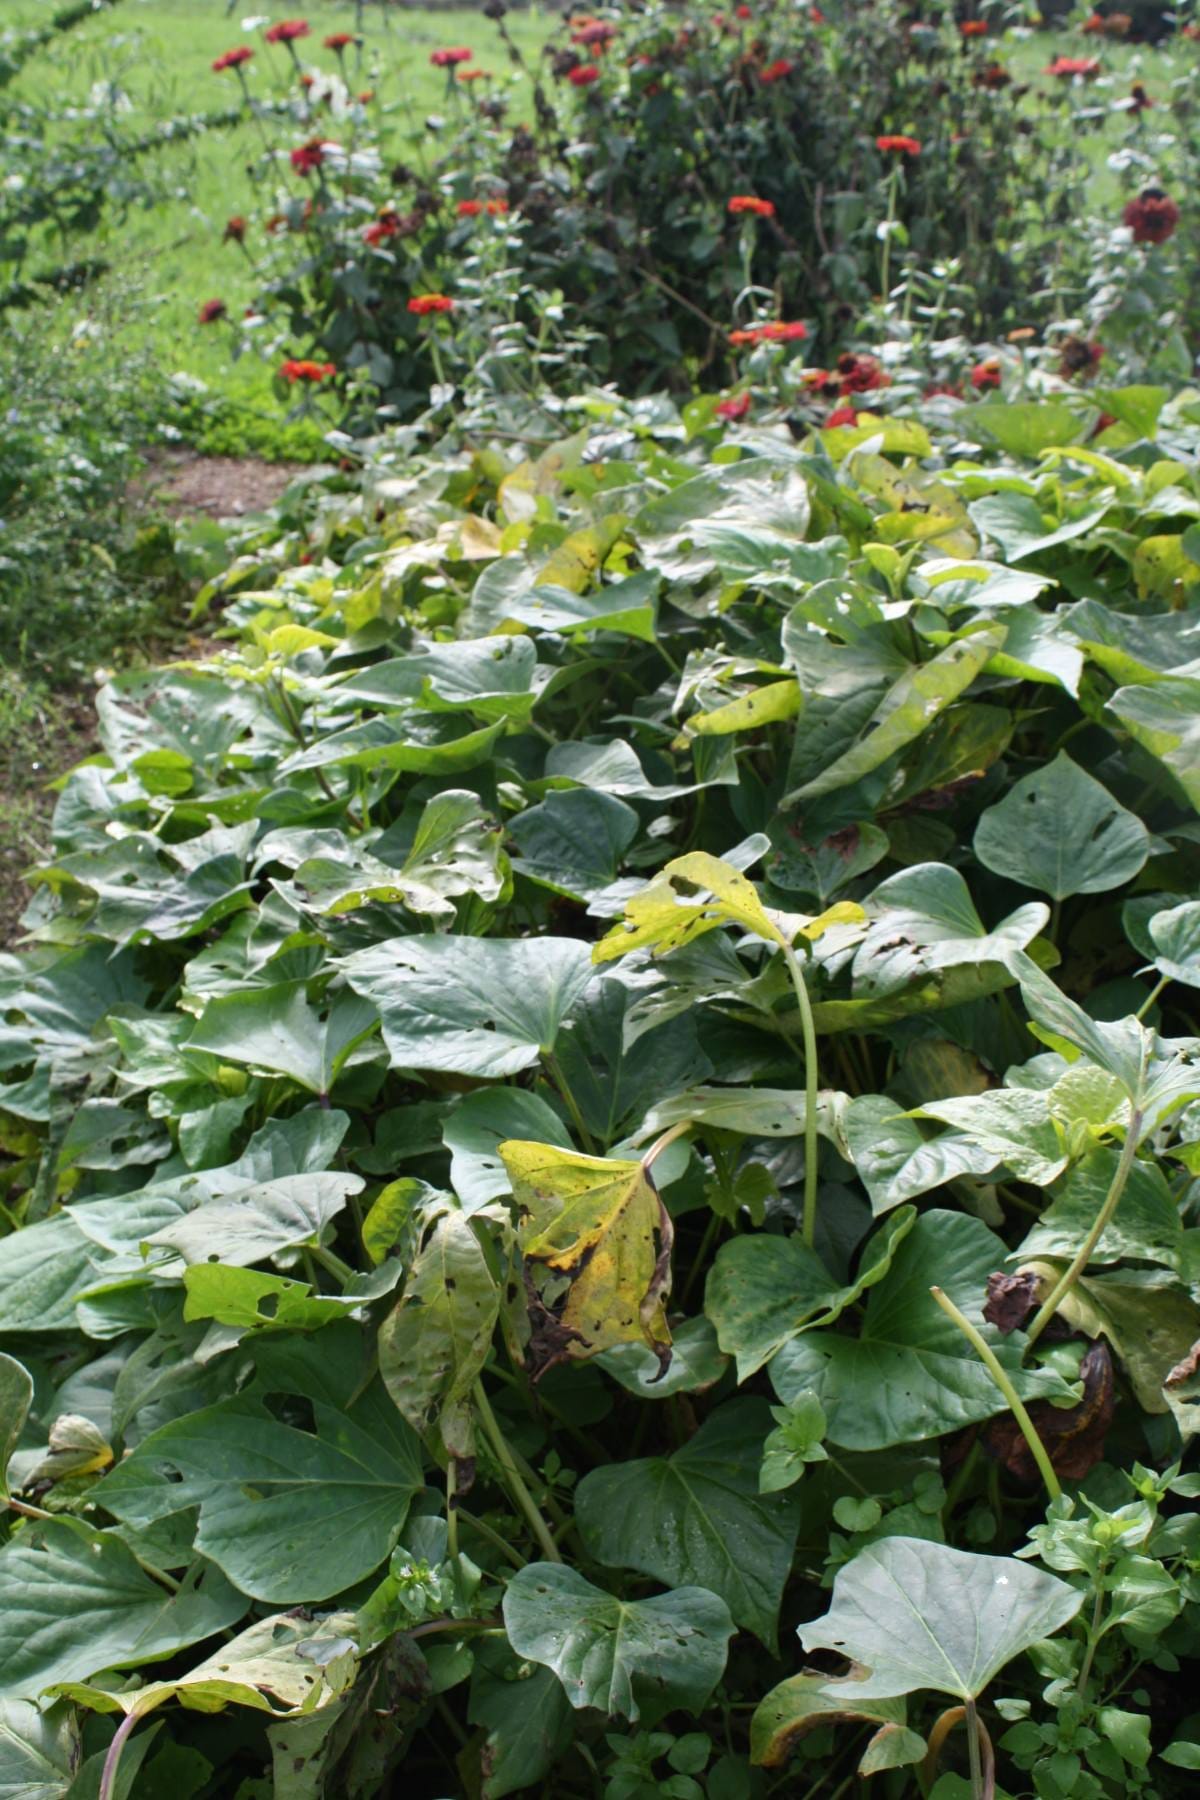
Cut off all the foliage with hedge clippers and add it onto the compost, or use it to mulch the bed with after you've gotten the crop up. Kumara greens are edible, by the way - they taste like spinach. Your cow or goat will love them too.
Slide your fork or better yet forksta in, to gently loosen the soil, then get in with your hands and scrape the dirt away with to reveal the nest of tubers.
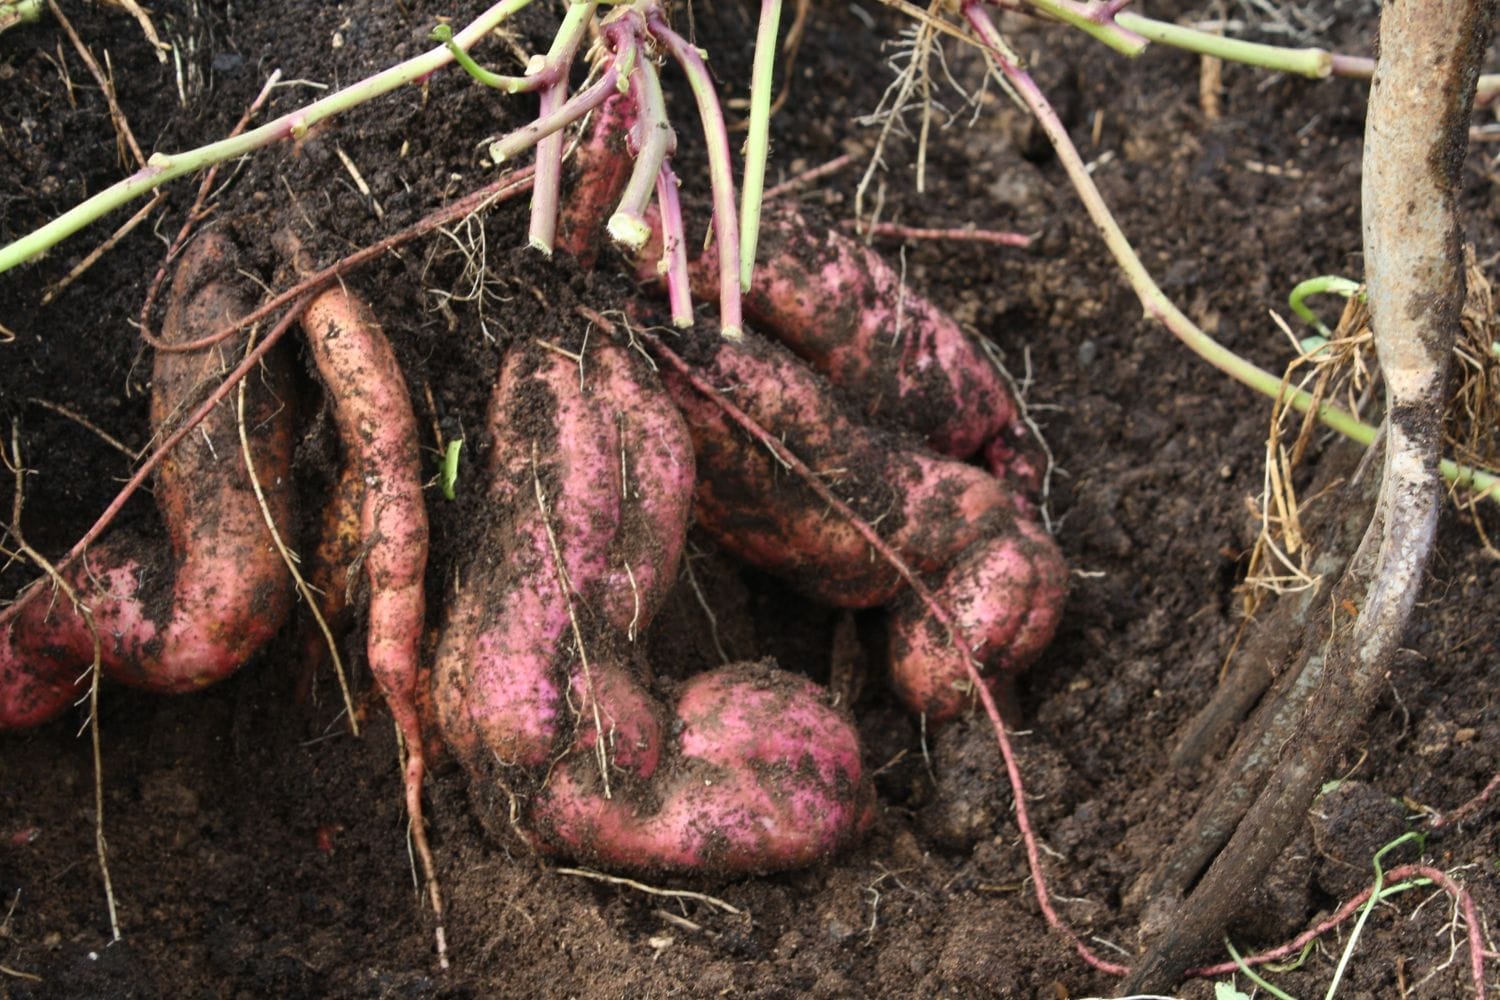
Kumara snuggle their fragile ends into the hard stuff making them a bhuddist act to get out if you are on heavy soils. Follow their twists and turns carefully to extract them whole if you can. Be ever so careful here, they break easily, and broken ones have no storage capabilities.
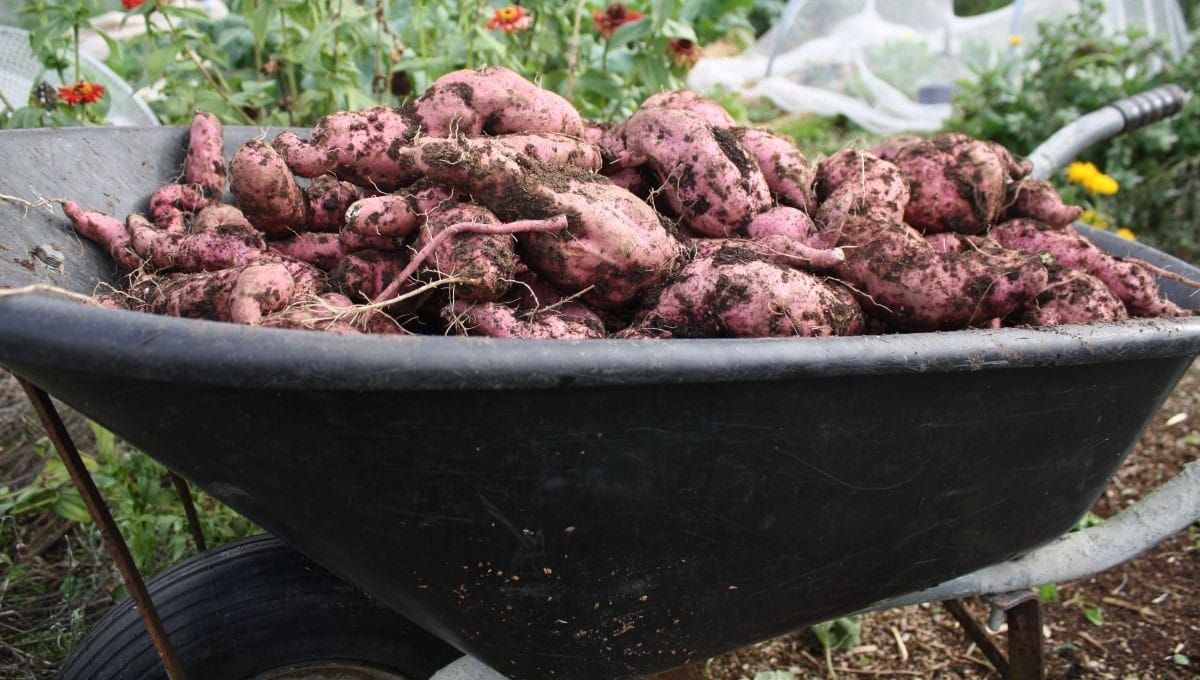
Once they are up out of the ground, transfer them gently to the wheelbarrow and bring them to wherever the curing will take place.
Cure
Curing is important - it hardens the skins, sealing in moisture and keeping out damaging bacteria and fungi. It also brings out the sugars which is why you don't get too excited about eating a freshly harvested kumara - they're more starchy at this stage than sweet.
Lay them in a single layer, on wire racks or in baskets. Somewhere warm, with good airflow. I set my homemade, wire racks on top of saw horses, on our deck. Kumara cure well here under cover, out of direct light, bathing in the reflected heat from the concrete below. Leave them here for about 5 days.
Its likely you'll have plenty of thin, little tubers. These go soft pretty quickly, so either gobble them up in a stirfry (sod all flavour, but just for the fun of it!) or give them to stock - pigs are ever grateful.
Store
Brush off the worst of the dirt (whatever you do, dont wash them!) and proudly lay them in a basket or box, with newspaper between each layer. Put the broken ones on top, to ensure you use them first.
Successful storage is once again, about warmth. Choose somewhere out of direct light and steadily warm - ideally above 12°C. Kumara are similar to pumpkin and squash this way, so store them in the same place. A cupboard or wardrobe in a warm room, or in the hallway. When I lived up the gorge, I stored them beneath my bed because it was the warmest room in the house. Now a days, I keep them in the bottom of our pantry.
As with all stores, check through every now and then for rots. Remove the damaged one from the store to stop the rot spreading. Cut out the bad bit and cook it up for tea.