How to Grow Kumara Shoots

The journey to a boomer crop of kumara begins with shoots or tipu. Start them growing now, in early spring. Shoots are grown on a kumara, and this kumara is so special its called the mother.
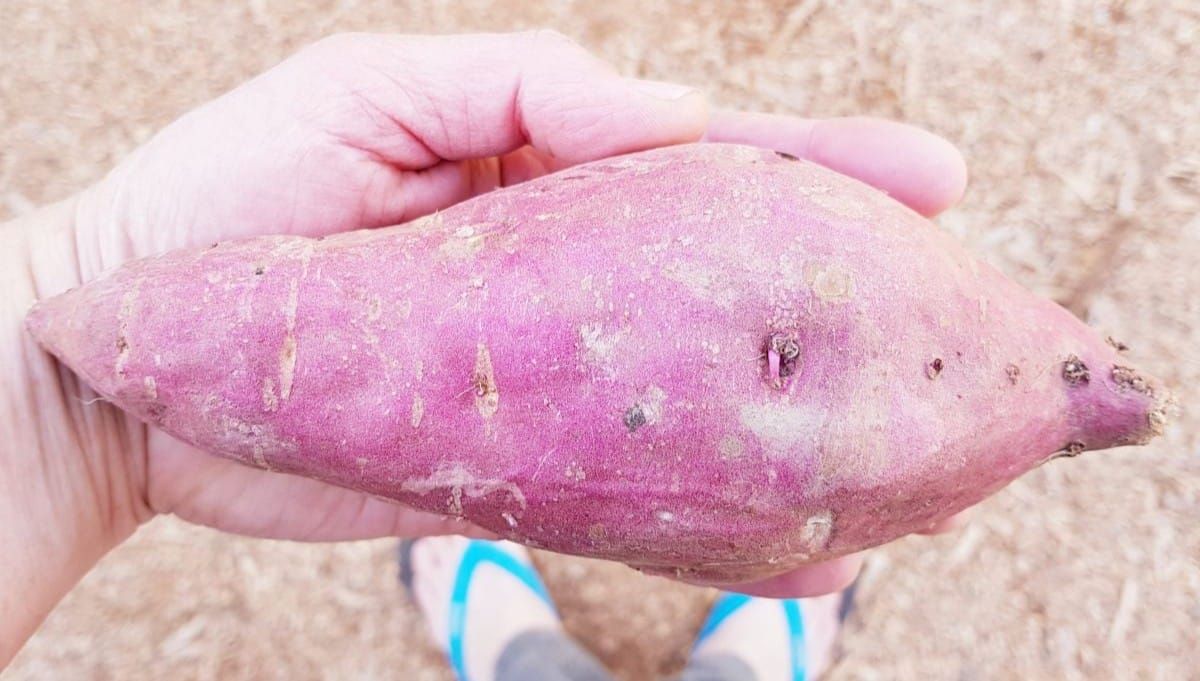
Choose your mother with care. Select a firm, organically grown kumara with no rots. She doesn't need to be huge, middle sized is perfect.
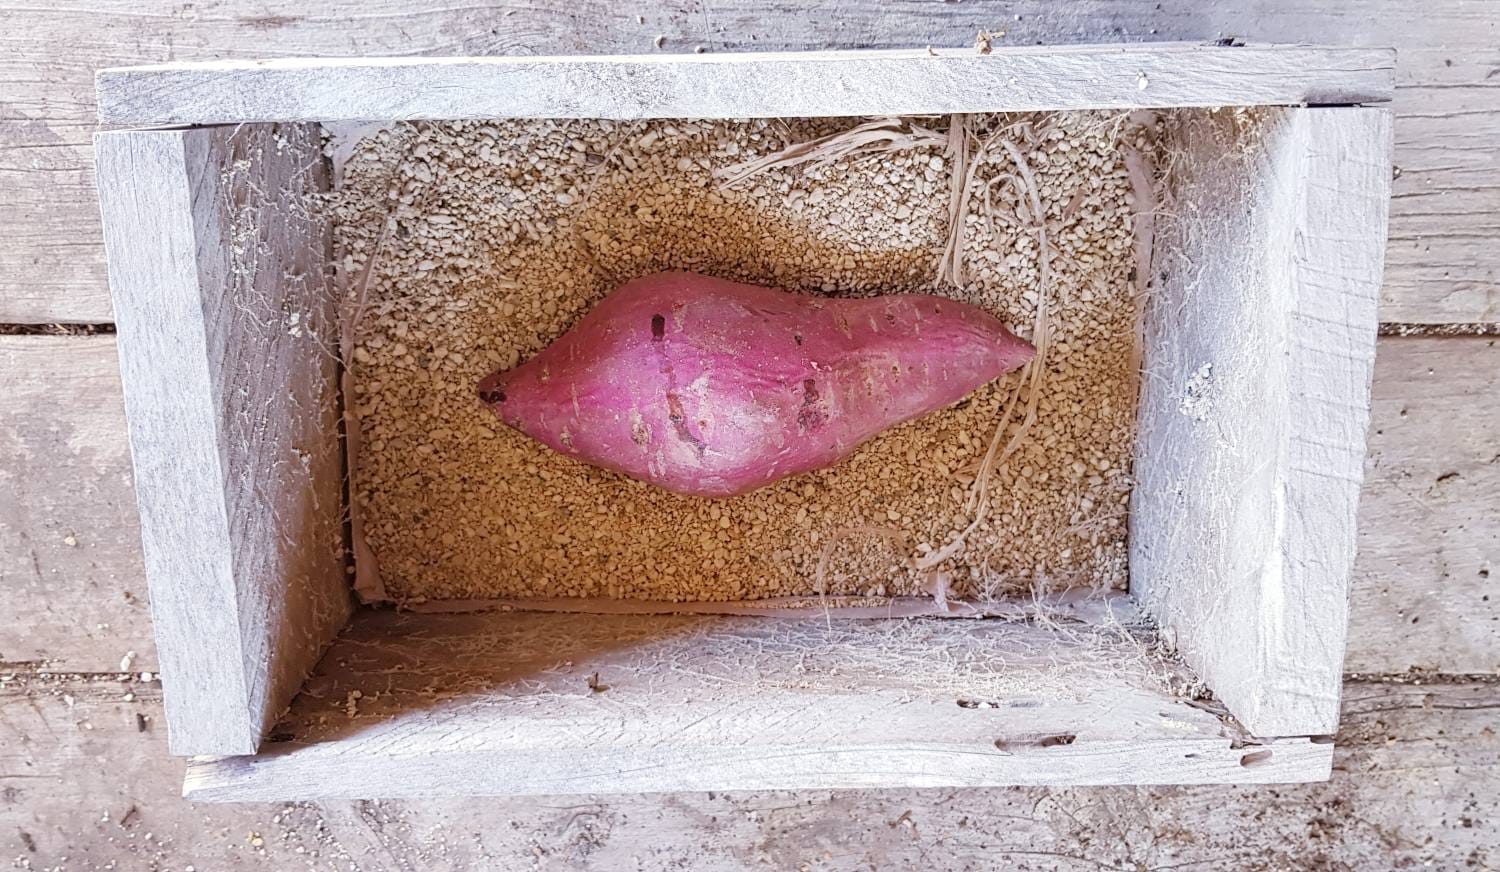
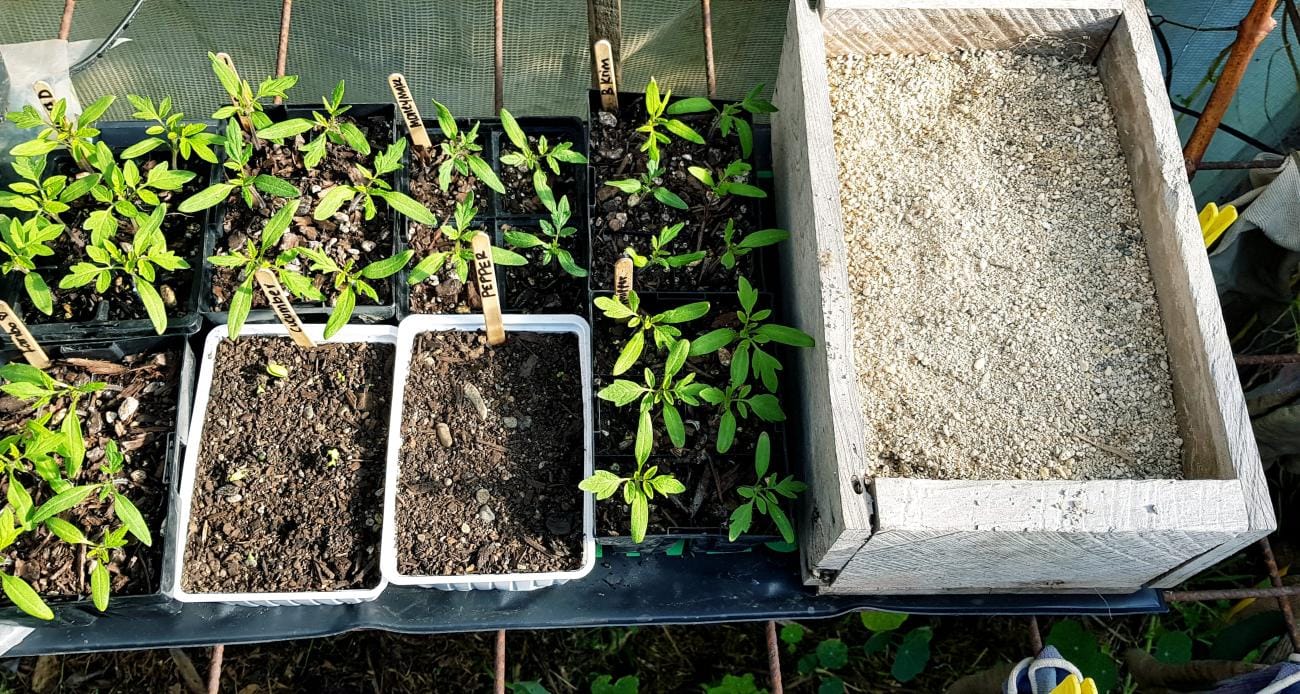
Spread river sand on the bottom of a pot or box and reverently lay in mother kumara. Cover her over with sand and gently moisten. She needs to be kept toasty warm about 20 degrees. I sit her on the heatpad in the greenhouse with the tomatoes and peppers.
Keep the box moist (not wet), and shoots will soon appear.
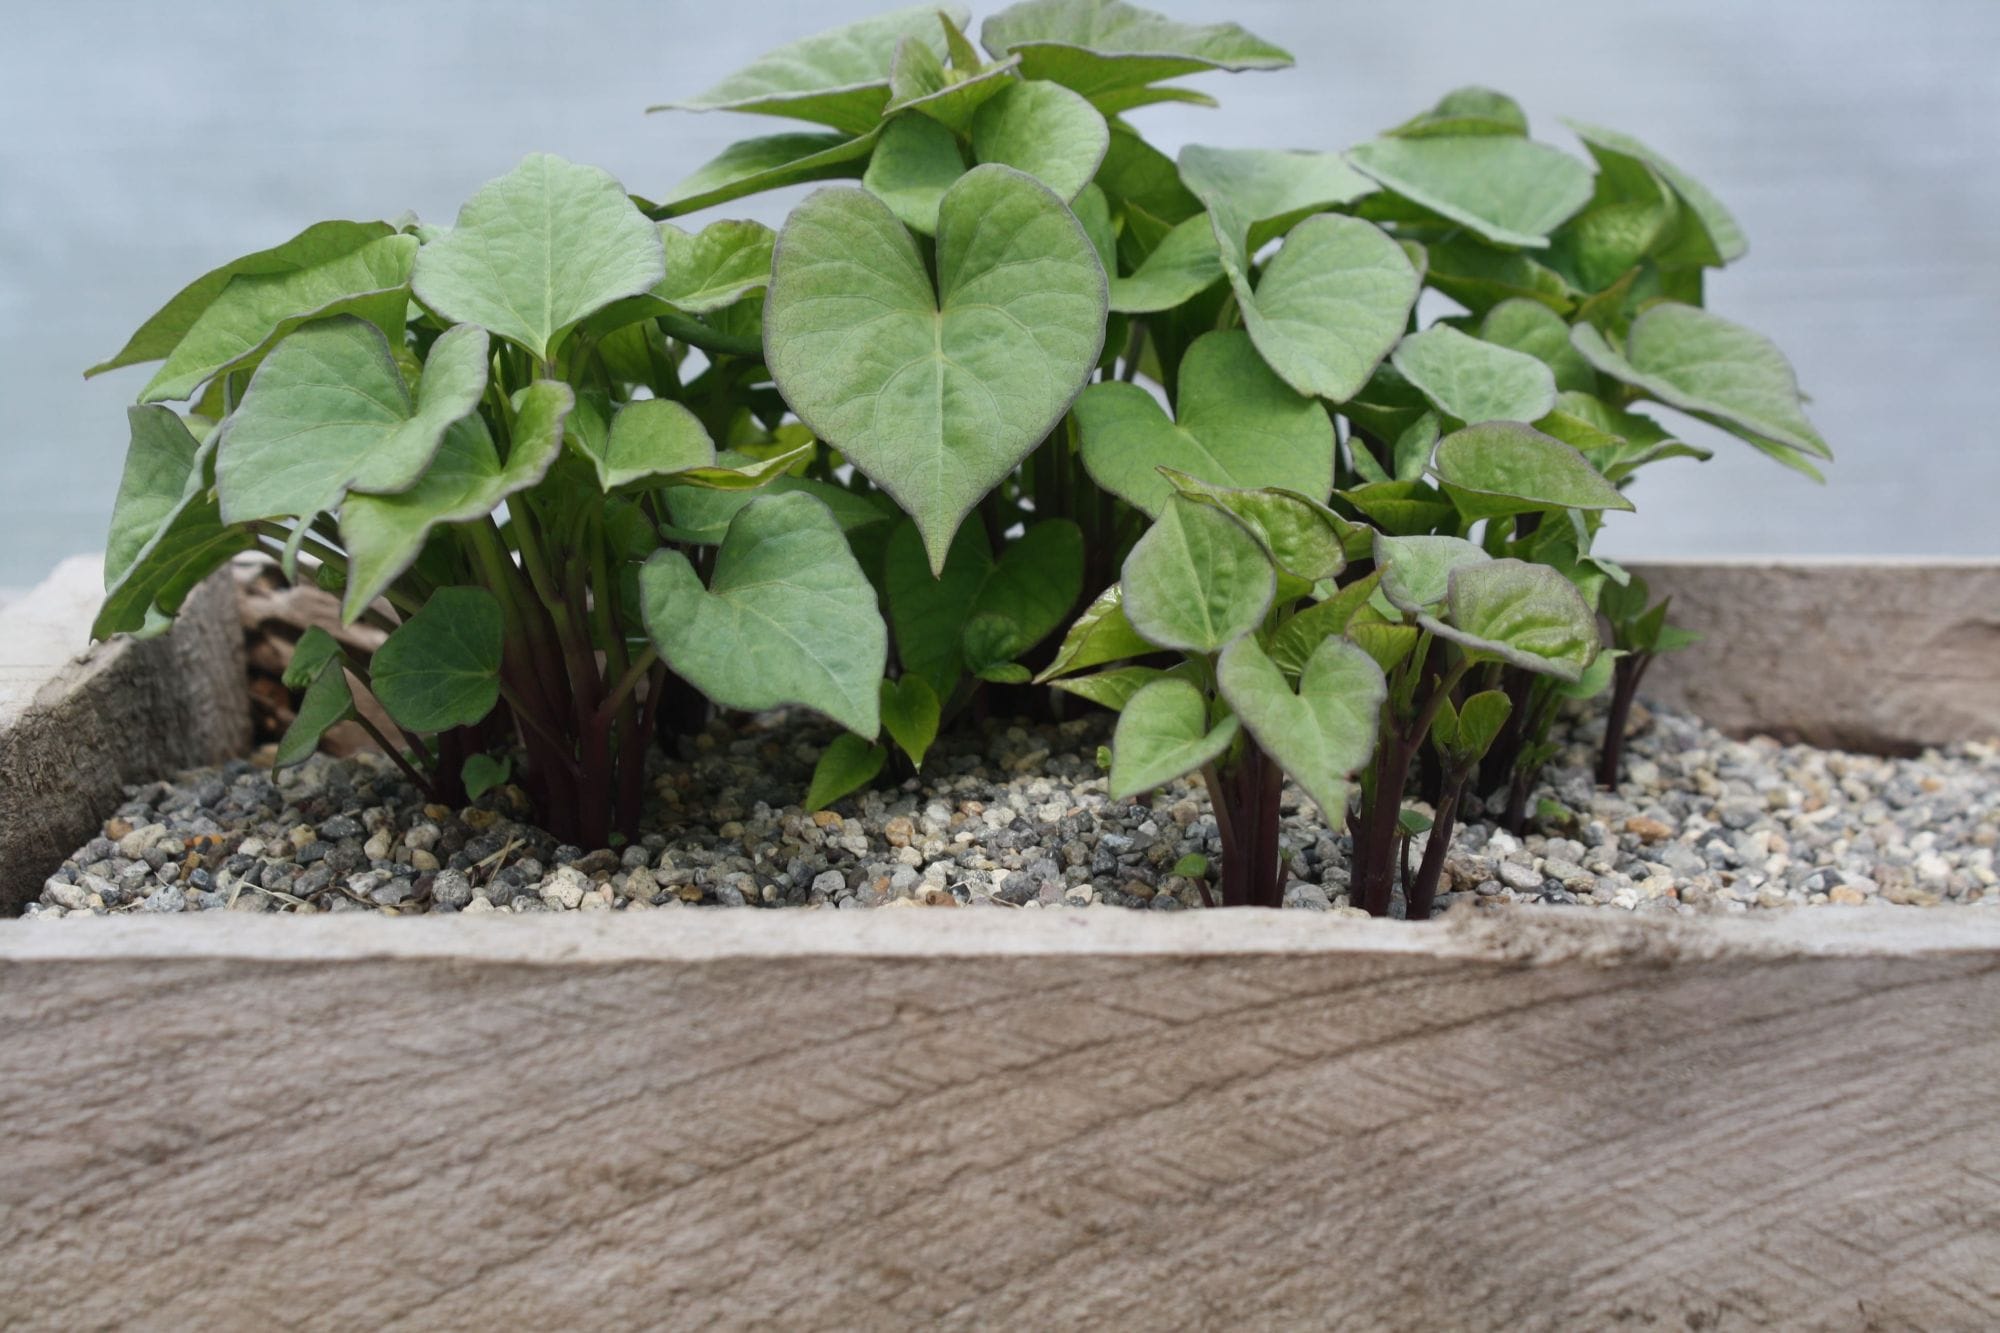
Keep on keeping them moist and when they reach about 15cm add a thin layer of compost or vermicastings on top of the sand so they dont go hungry. You could also feed them with a very dilute herbal or seaweed or worm liquid feed.
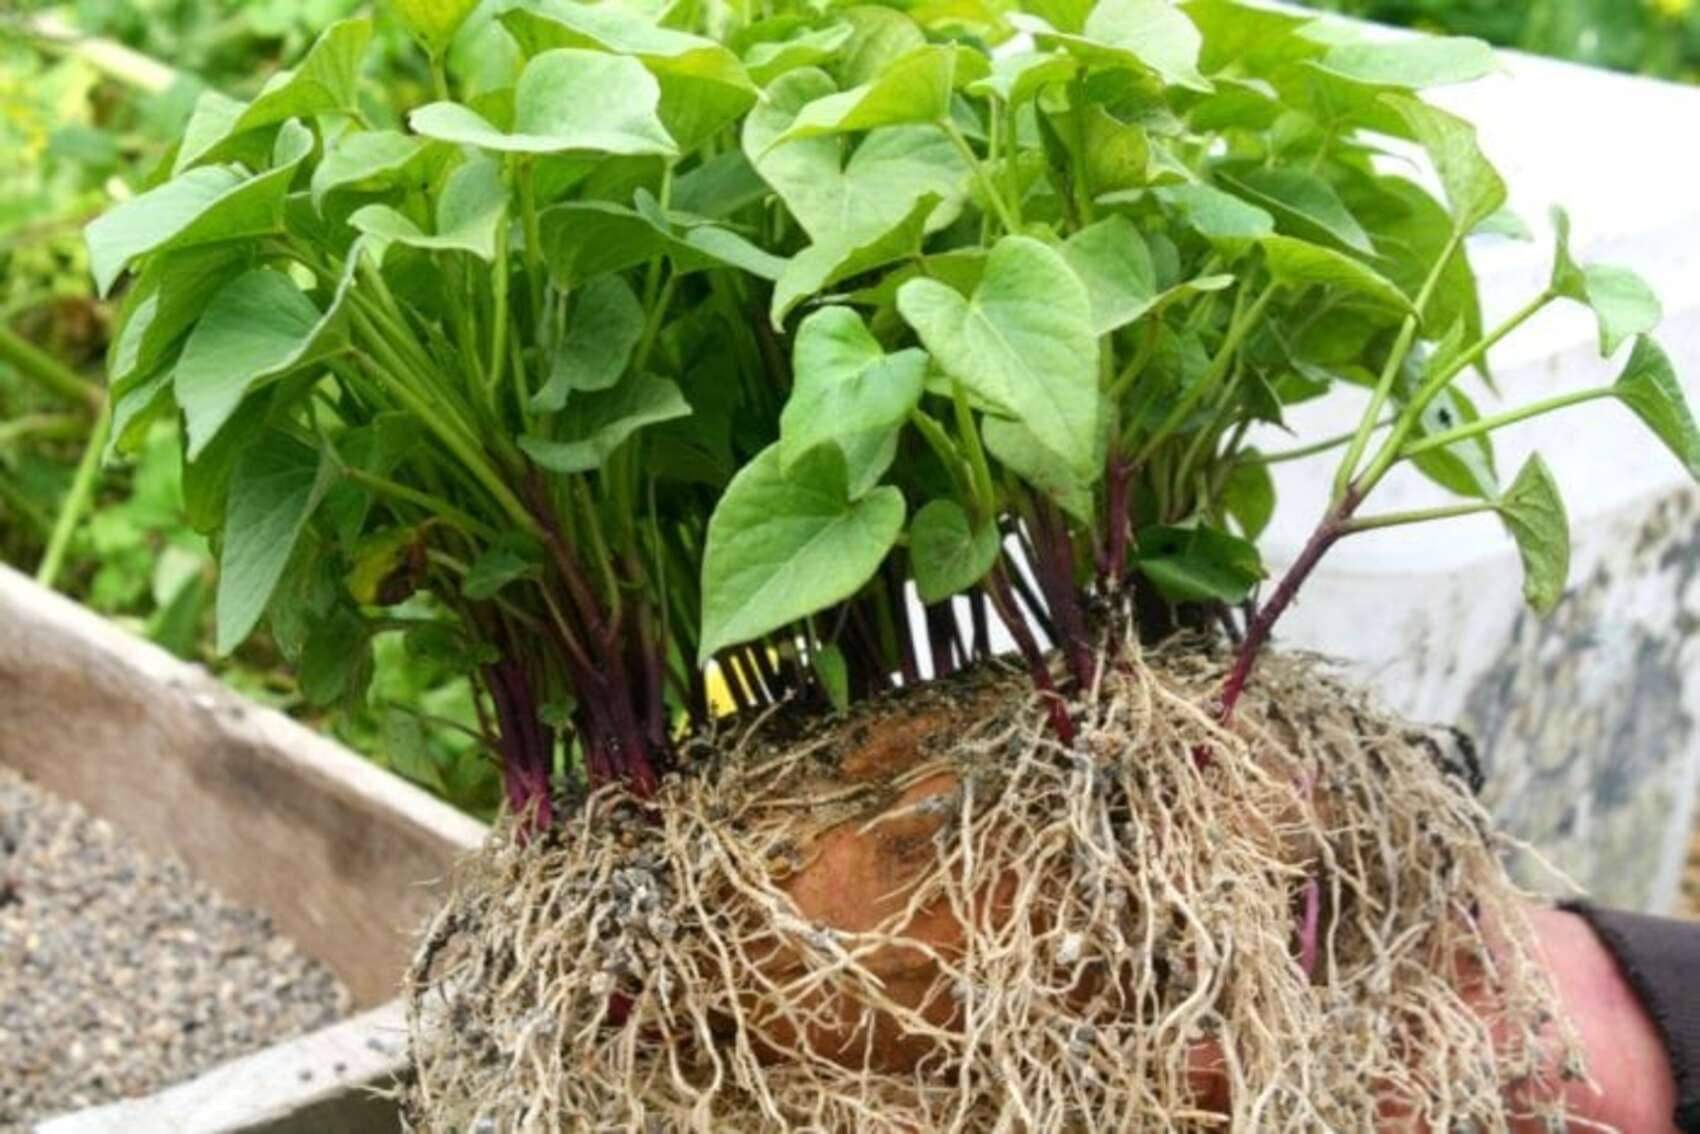
When the shoots are 20cm or so its time for them to leave mum, and go forth and make their own babies. Get ready with a small bucket of weak liquid feed.
Tip the sandbox carefully so as not to break any shoots.
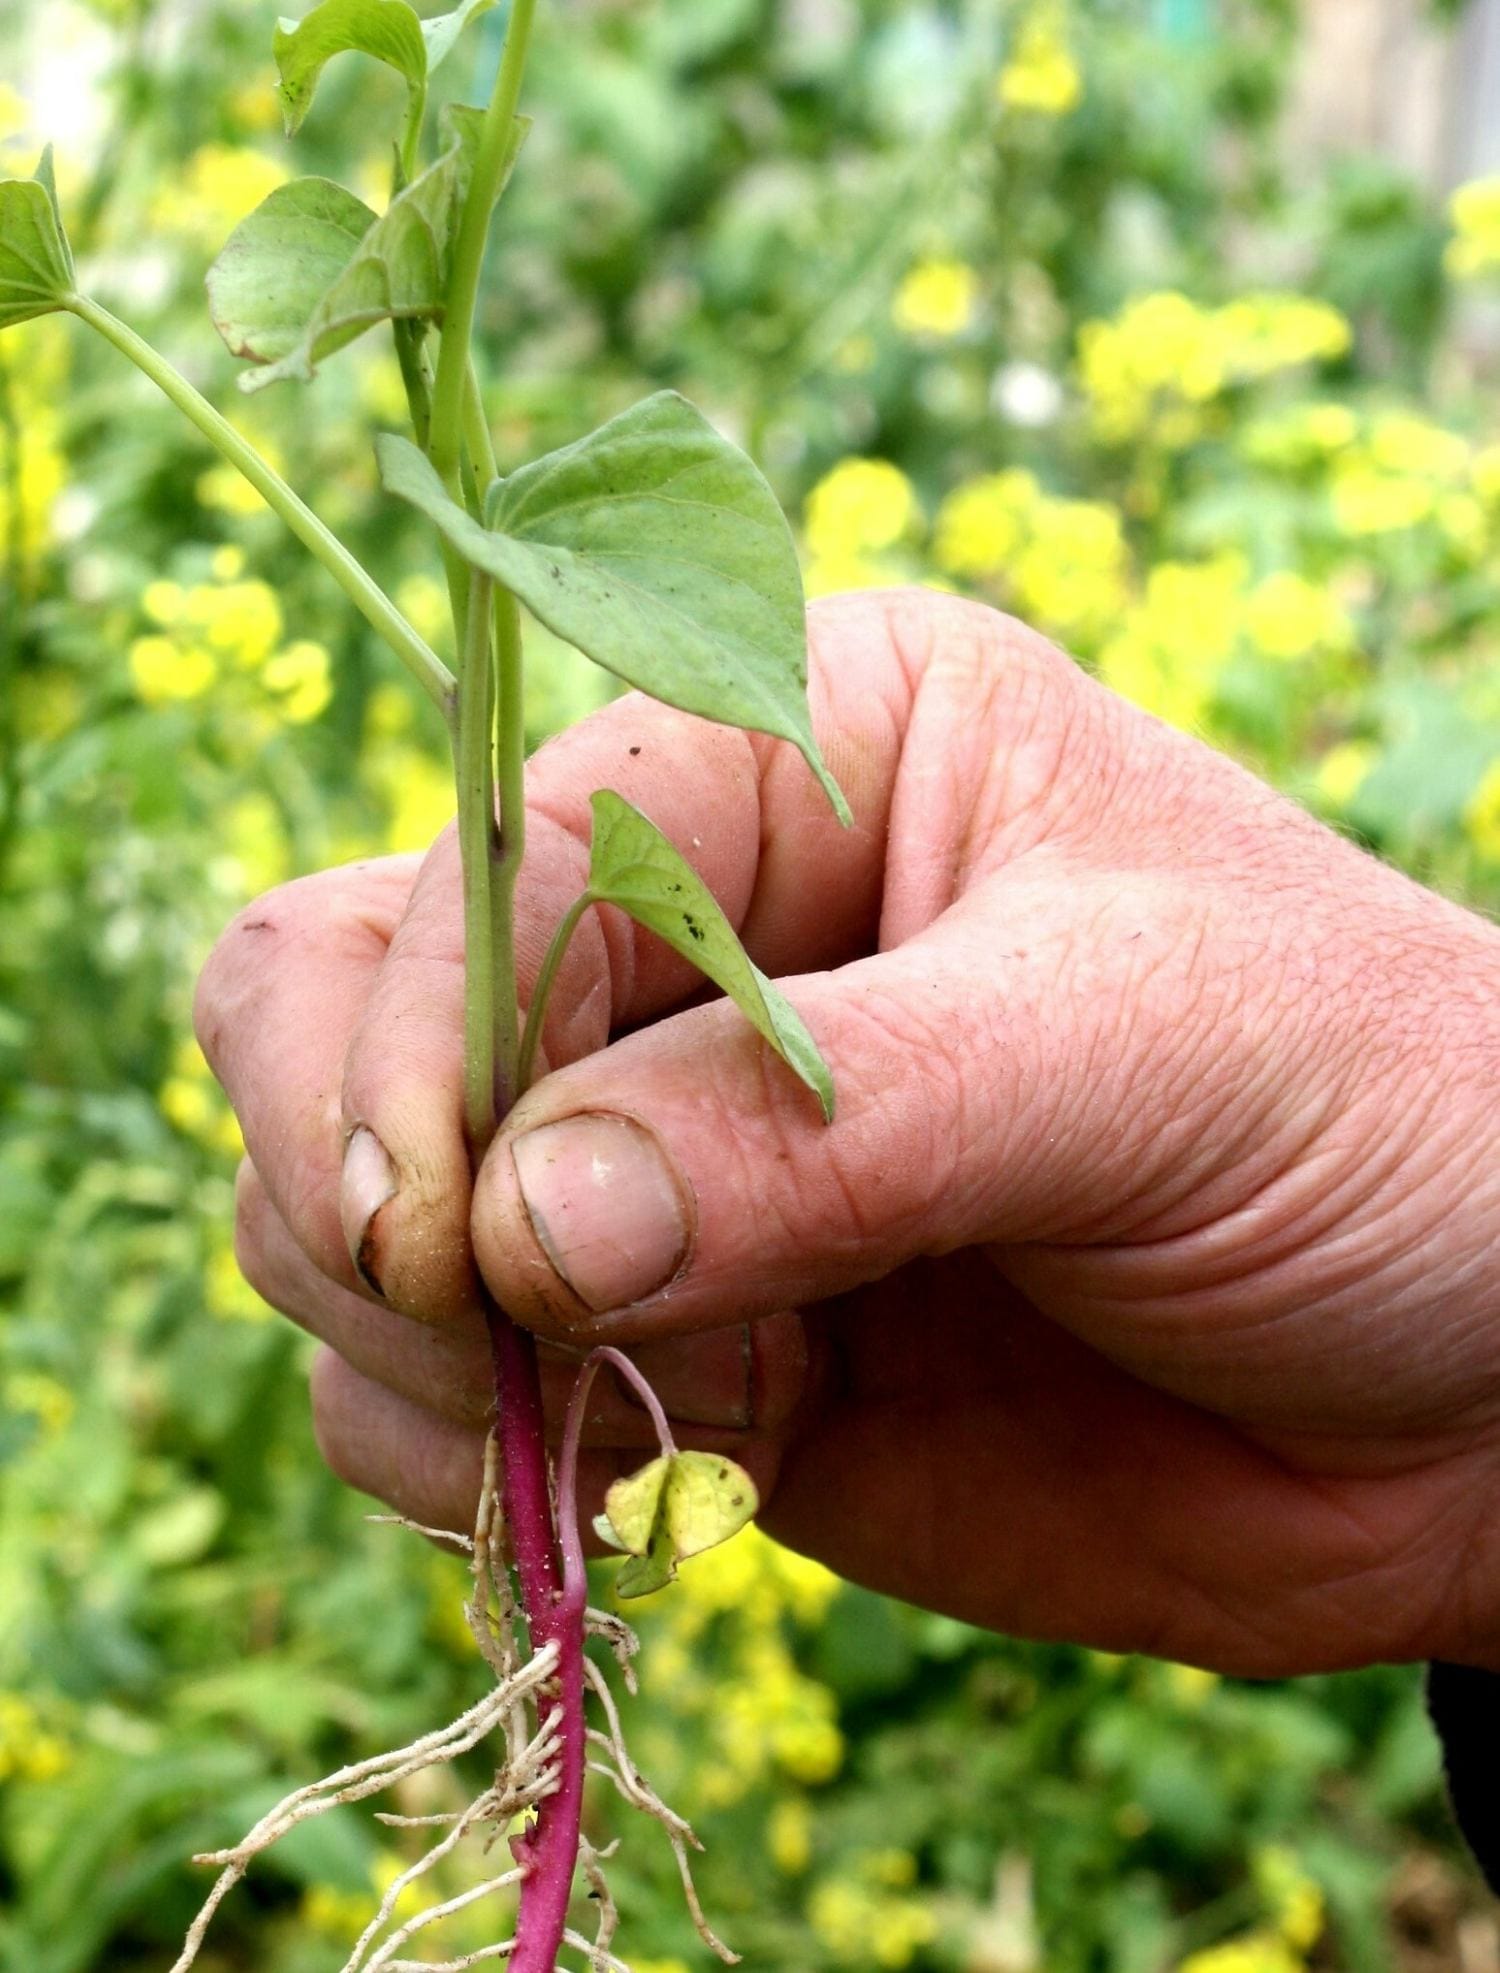
Hold the mother and gently peel the shoots off. If a bit of the mother kumara sticks to the shoot, break it off - a safe guard against disease carrying over.
Put the shoots in the liquid feed as you go - it'll stop them drying out. They'll hold in this container in a warm spot, for a few days until you are ready to plant them out.
If you run out of time to grow your own, no worries you'll find them at various garden centres mid-spring. Choose healthy ones, with verdant, robust stems and foliage.